


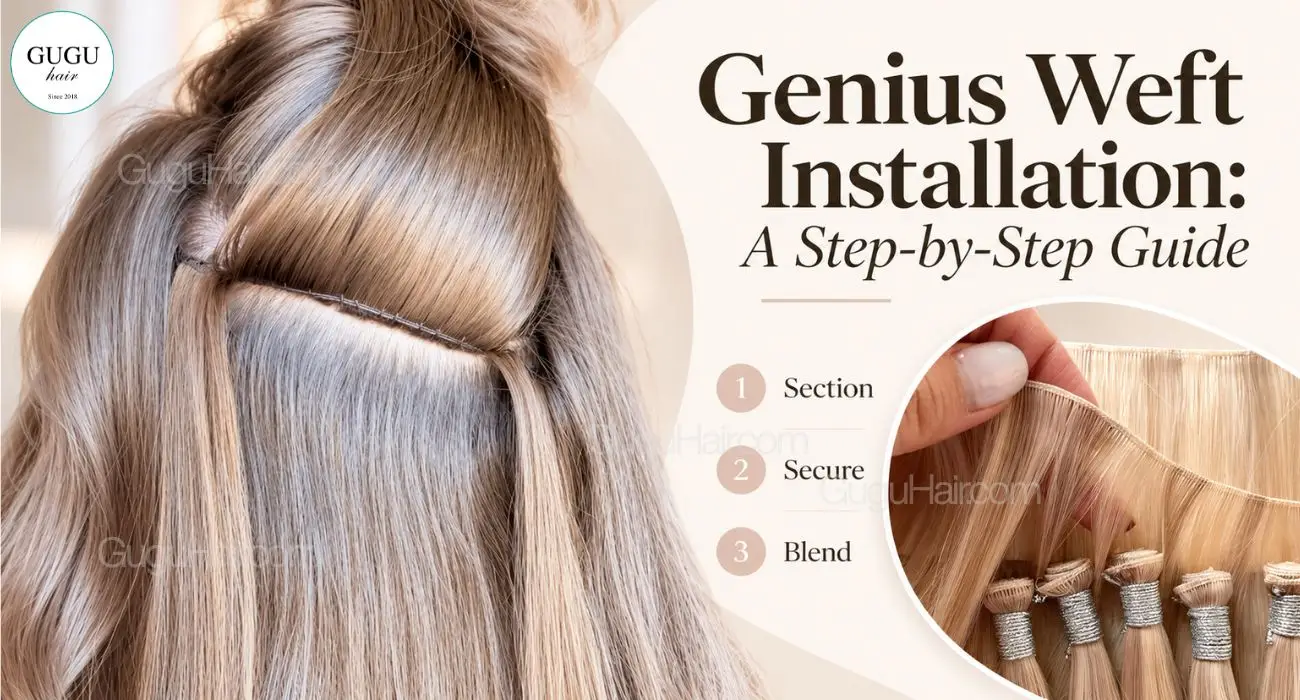
Genius weft installation is not simply about attaching a weft to the hair. The finished result depends on where the rows are placed, how much hair each section can support, how the weft is secured and how naturally the added lengths blend into the client’s hairstyle.
Because Genius Weft is designed with a thin, flexible track, correct placement is especially important. A well-planned installation can help the weft sit flatter and move naturally, while poor placement can create tension, visible tracks or uneven volume.
This guide focuses only on the installation process. For the basic construction and characteristics of the product itself, see our guide to Genius Weft Hair Extensions.

Important points include:
The purpose of this assessment is to decide where the weft can sit securely without placing unnecessary stress on weaker areas.
The stylist should also discuss how the client normally wears her hair. Someone who frequently wears a high ponytail may need a different placement plan from someone who usually wears the hair down.
Good genius weft installation therefore begins with placement planning, not with sewing the first row.
For readers who are still unfamiliar with the product construction itself, the Genius Weft Hair Extensions: Everything You Need to Know parent article provides the broader foundation.
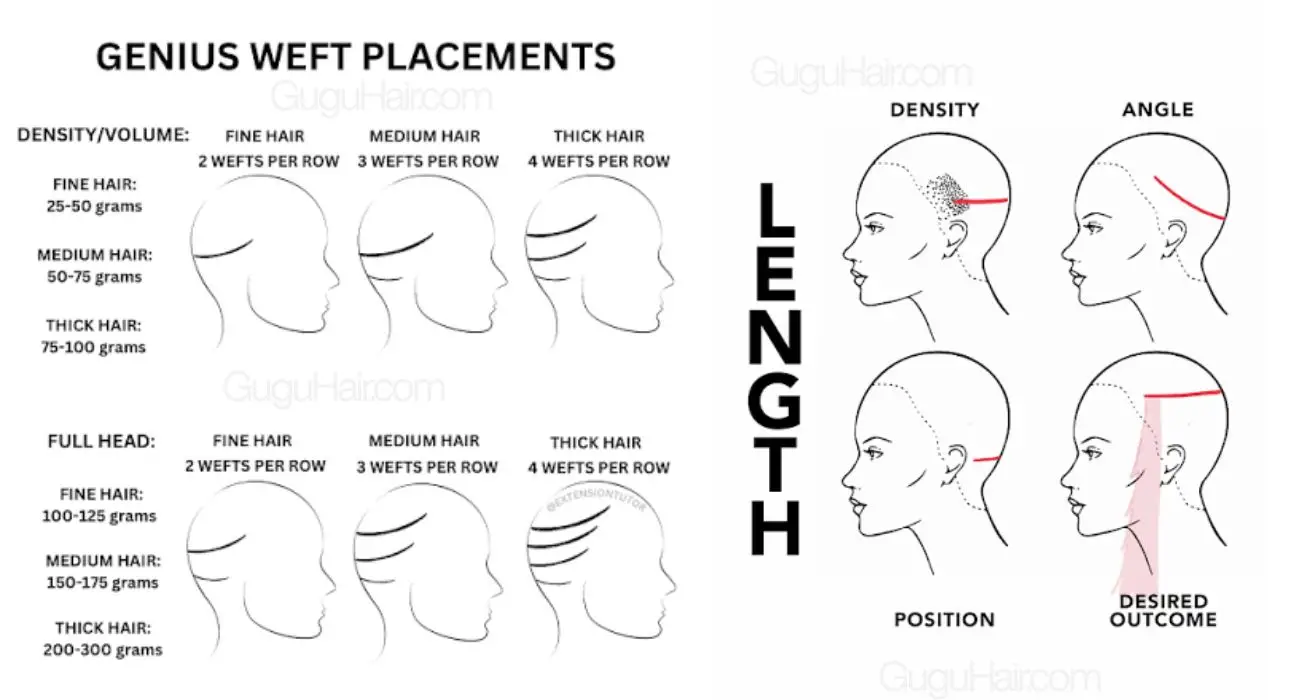
Rows are usually positioned in areas where enough natural hair remains above and around the weft to provide coverage.
The stylist needs to avoid placing the track too close to:
Placement should follow the natural shape of the head rather than creating one rigid straight line without considering movement.
A lower row may support added length, while an additional row higher on the head may help distribute volume.
The exact layout depends on the client rather than one universal Genius Weft pattern.
If you want to see the actual thin-track construction that makes customized placement possible, explore the GUGU Hair Genius Weft collection.
There is no single number of rows that works for every client.
The number depends on:
Someone looking for subtle fullness may need fewer rows than someone creating both substantial length and volume.
More rows do not automatically create a better result.
Adding too much hair can increase weight and make blending more difficult.
The objective should be to use enough hair to create the desired result without adding unnecessary bulk or tension.
This is also why the final number of rows should ideally be determined during a professional consultation rather than copied from another client’s installation.
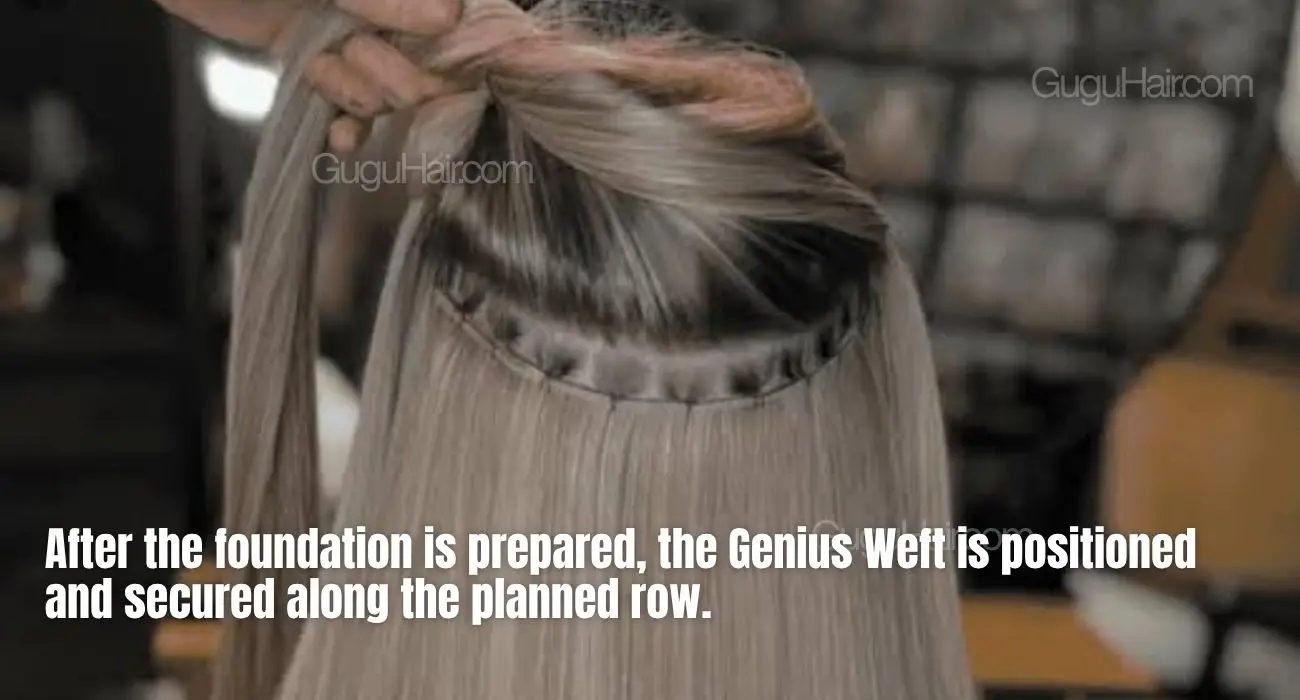
The exact attachment technique can vary by stylist and installation system. Professional Genius Weft installations may use a beaded-row or sew-in style foundation, depending on the method chosen.
The important principles remain similar:
After the foundation is prepared, the Genius Weft is positioned and secured along the planned row.
Because the track is thin, the stylist can adapt the weft width to the required section instead of forcing excess material into a smaller space.
A clean attachment is essential because even high-quality extension hair cannot compensate for poorly distributed tension.
Readers who want to inspect the track before discussing installation with a stylist can view the product close-ups in the GUGU Hair Genius Weft collection.
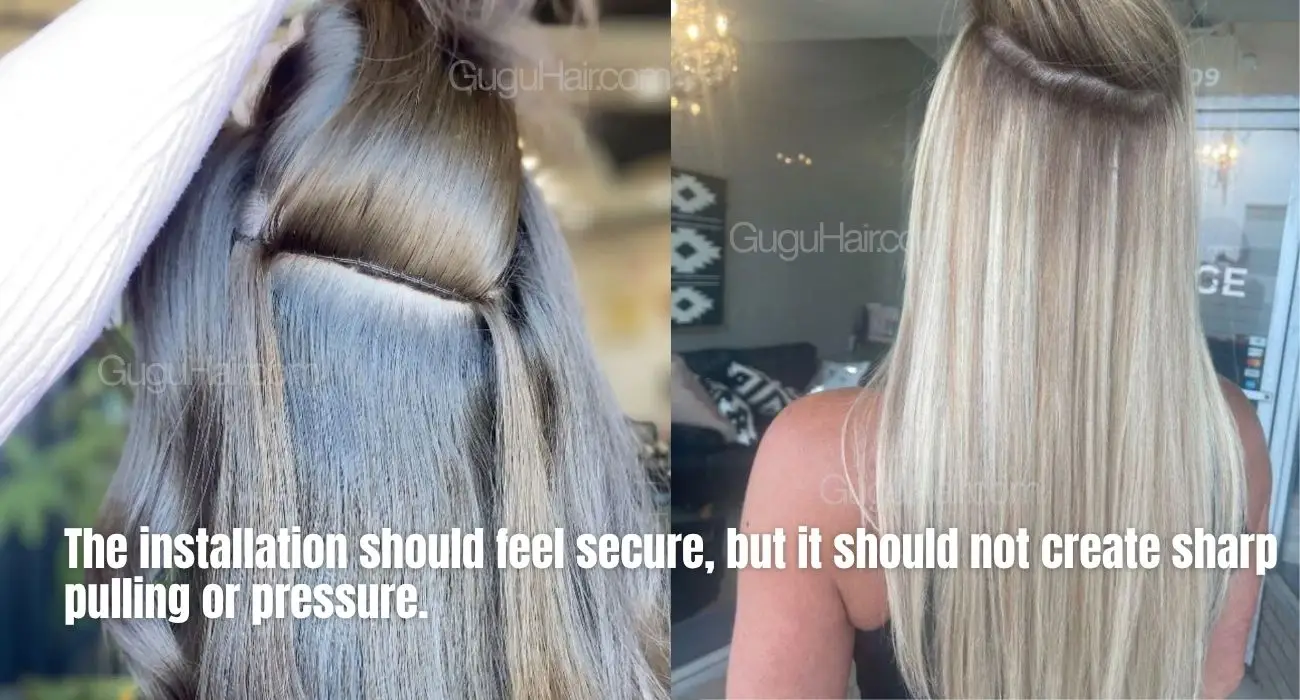
After each row is attached, comfort should be checked before moving on.
The installation should feel secure, but it should not create sharp pulling or pressure.
Ask the client to:
If one area feels noticeably tighter than the rest, it is better to correct it immediately.
Excessive tension can make the installation uncomfortable and may place unnecessary stress on natural hair.
A good Genius Weft install should distribute the weight of the added hair rather than concentrate it in one small area.
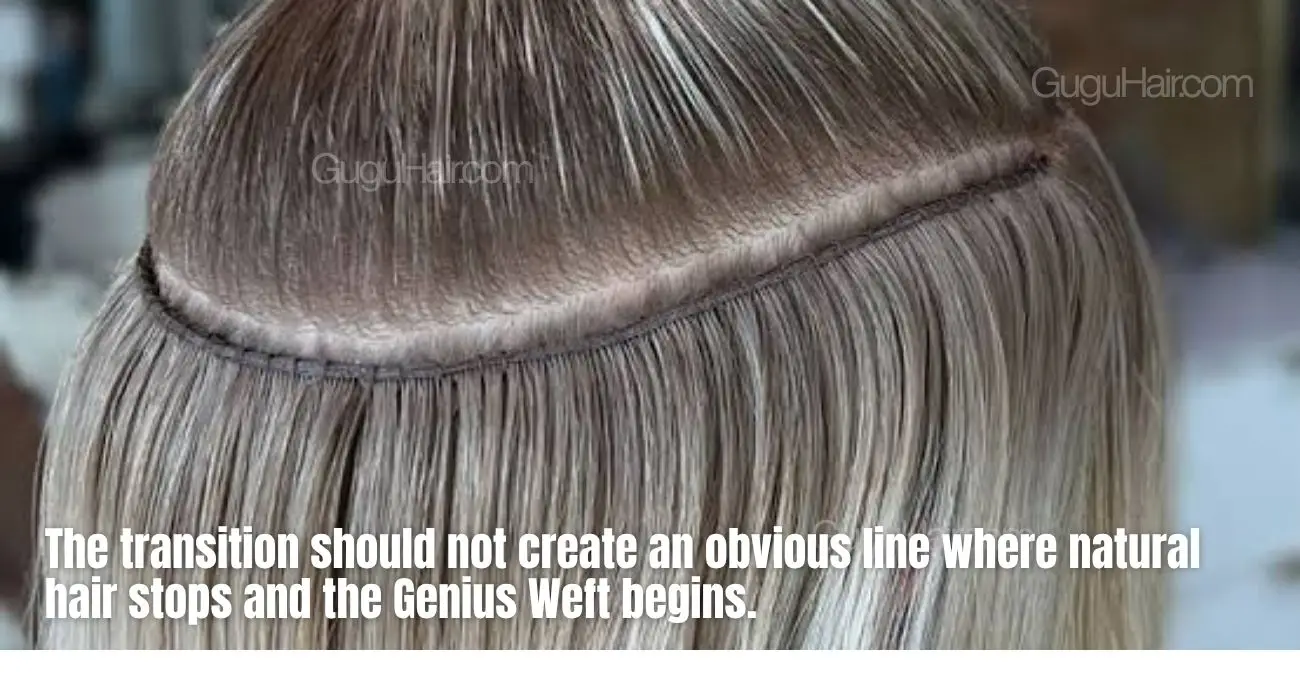
The natural hair and extension hair still need to become one hairstyle.
Blending may involve:
The transition should not create an obvious line where natural hair stops and the Genius Weft begins.
This is particularly important when the client’s natural hair is significantly shorter than the extension length.
Styling both sections together helps the added hair move more naturally with the existing hairstyle.
The final installation should be checked with the hair both still and moving.
The stylist should look at:
The weft should remain covered during normal movement.
A track that looks invisible when the hair is perfectly arranged may become visible when the client changes her part or ties her hair back.
This is why the final check should reflect how the client actually uses her hair outside the salon.
As natural hair grows, the installed row gradually moves farther away from the scalp.
A genius weft move up involves repositioning the installation closer to the scalp so the weft remains secure and balanced.
There is no one maintenance interval that applies to every wearer.
The timing depends on:
Rather than waiting until the weft feels very loose or difficult to manage, clients should follow the maintenance schedule recommended by their stylist.
Several mistakes can reduce comfort or make the finished result less natural.
Placing rows too close to visible areas
The track may become easier to see around the hairline, crown or parting.
Using too much hair on one row
This can create excess weight and make the installation feel bulky.
Uneven tension
One section may feel tighter than another, reducing comfort.
Poor row planning
Too many or too few rows can affect the balance of the finished style.
Ignoring the client’s usual hairstyle
A placement that works only when the hair is worn down may become visible in other styles.
Skipping the final blending stage
Even a clean attachment can look obvious if the natural hair and extension lengths are not blended together.
Final thought:
A successful genius weft installation depends more on thoughtful placement, balanced tension and careful blending than on simply adding more rows. The weft should support the desired length and volume while remaining comfortable, secure and properly concealed within the natural hair.
Discover Genius Weft Hair at GUGU HAIR

Made from 100% raw Vietnamese human hair, designed for women who understand that true beauty does not need excess.
GUGU HAIR – Pure. Clean. Timeless.
Contact us:
WhatsApp: +(84)385637191
Email: guguhair99@gmail.com
Factory Address: Phu Luu, Trung Nghia, Yen Phong, Bac Ninh
Office Address: #2, street 5, Galaxy Van Phuc, To Huu, Ha Dong, Hanoi
FAQ:
How many rows are needed for Genius Weft extensions?
There is no universal number. The stylist should determine the row count based on natural hair density, desired volume, extension length and the amount of hair each section can comfortably support.
Can Genius Weft extensions be installed at home?
Professional installation is recommended because correct row placement, tension and attachment are important for comfort and concealment.
How often should you move up Genius Weft extensions?
The timing varies with natural hair growth, installation method and maintenance. Follow the schedule recommended by the stylist who performed the installation.
Should Genius Weft feel tight after installation?
The rows should feel secure but not painfully tight. Noticeable pulling or concentrated tension should be checked by the stylist.
Can Genius Weft be cut during installation?
A cuttable Genius Weft construction allows the stylist to adjust the width of the weft to fit the planned row. Always confirm this feature for the specific product being installed.





TOP 1 GUGU HAIR
FACTORY VIETNAM